Blog

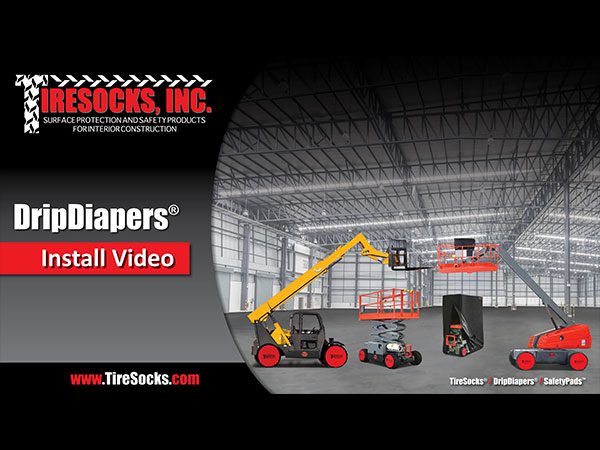
How to Install DripDiapers®

Leaks from interior construction equipment may be inevitable, but the headaches caused by extra clean-up and the damage they do to your floors don’t have to be. Designed with a high-volume absorbtivet pad at the center, our DripDiapers® are the cost-effective solution that collects leaking fluids from the chassis of scissor lifts and other construction equipment.  Installation is a breeze thanks to our included install kit and adjustable bungees with magnetic attachment points. With our seven standard sizes and three pre-cut sizes, you can custom fit your DripDiapers® to any piece of equipment leaving you with reliable floor protection that moves with your machines.  DripDiapers Installation Guide As you install your DripDiaper®, it’s important to adjust your magnet and clip locations when necessary to ensure a proper fit and avoid leaks.  1. Spread the DripDiaper® out in front of your… Read More.

Read More

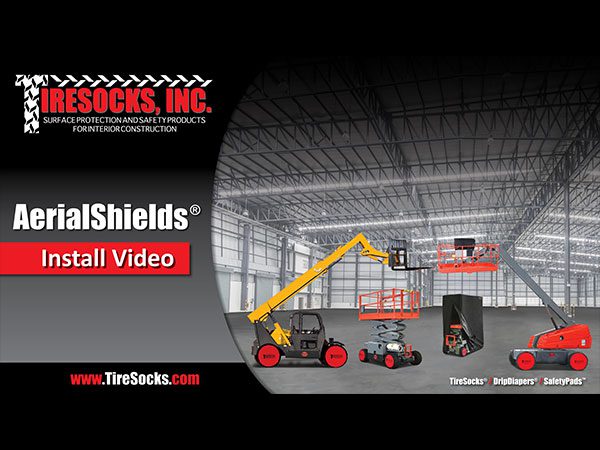
How to Install AerialShields®

Protect your own equipment or rental machinery from unsightly paint over-spray, spills, and splatters with our AerialShields. AerialShields keep equipment looking new and help you avoid costly cleaning, damage or repainting fees. Made from light, durable materials, our AerialShields® are quick to install so you can stay on schedule. AerialShields Installation Guide 1. Make sure the equipment basket is clear of tools and debris. Fully extend your platform to ensure a proper fit. 2. Take the AerialShield and removable door from the package. Don’t unfold the AerialShield. Set the door with the yellow caution strip aside. 3. With the folded AerialShield, enter the lift. Starting at the furthest end of the platform from the entrance, lay the folded AerialShield on the platform floor with the black base facing down. Gradually unroll toward the entryway with the black base laying flat… Read More.

Read More

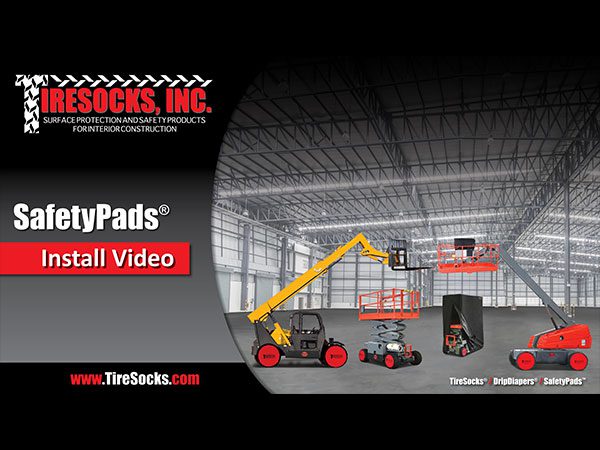
How to Install SafetyPads®

Protect your machinery and keep contractors safe with SafetyPads®. Made from durable, light-weight foam and clearly marked with OSHA compliant yellow and black caution markings, SafetyPads® attach easily to scissor lifts, boom lifts, and other types of construction equipment. Each SafetyPad® can be installed in seconds so you can save time and get back to the project at hand. SafetyPads Installation Guide 1. Unzip and remove the black and yellow cover, and set it aside. 2. Slit the foam pad at the scored seam and fit it over the entry or basket bar(s). 3. Place the cover over the foam and zip closed. 4. Rotate the cover so your logo is right side up and facing out so it can easily be read…

Read More

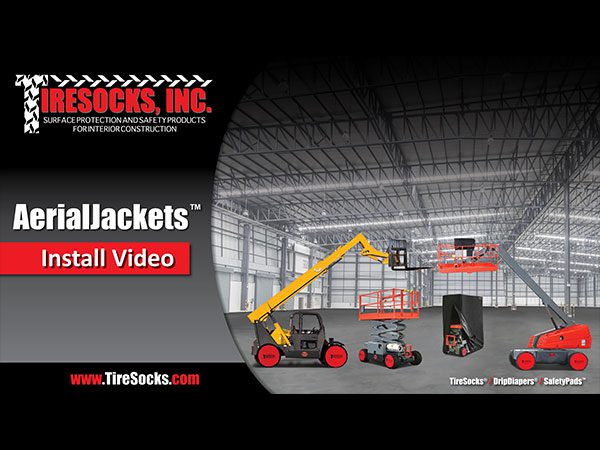
How to Install AerialJackets®

Equipment can easily be damaged by the elements, dust, debris while stored or during transport. Avoid expensive repairs and replacement costs with AerialJackets for your scissor lifts, boom baskets, and control boxes. Made from high-quality, water-resistant material, AerialJackets® provide the protection your machinery needs. Each AerialJacket® is easy to install and includes a retractable lock to prevent unwanted use and theft when not actively in use. AerialJackets Installation Guide 1. Stretch the AerialJacket over the machine lengthwise, making sure that the opening is toward the entry point.  2. Once you have covered the machine, straighten, secure, and zip to close the cover. 3. To secure the cover to the machine, run the retractable lock through the grommet holes and zipper pull at the base of the AerialJacket. To further secure the AerialsJacket, slide the included bungee under the lift or… Read More.

Read More

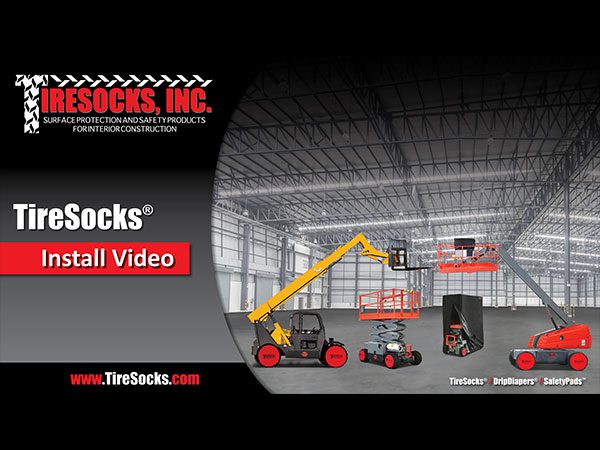
How to Install TireSocks®

Avoid clean-up and costly surface and flooring repairs by using TireSocks®. Our non-marking tire covers keep your job site clean, damage free, and your project on schedule and on budget. Made from high-quality, durable material, TireSocks® easily slip on over your wheels, providing the protection your floor and bottom line need. To get the most life out of your TireSocks, only use them on interior surfaces that are dry, level, and only turn the tires when the equipment is in motion. TireSocks Installation Guide As you begin to install your TireSocks®, make sure that no part of the red center is overlapping your tire’s tread and don’t drive on the seam. Proper fit and installation help your TireSocks to last longer. 1. Stretch the top half of the TireSock over each tire. The TireSocks should only stretch over the back… Read More.

Read More