How to Install TireSocks®

Avoid clean-up and costly surface and flooring repairs by using TireSocks®. Our non-marking tire covers keep your job site clean, damage free, and your project on schedule and on budget.
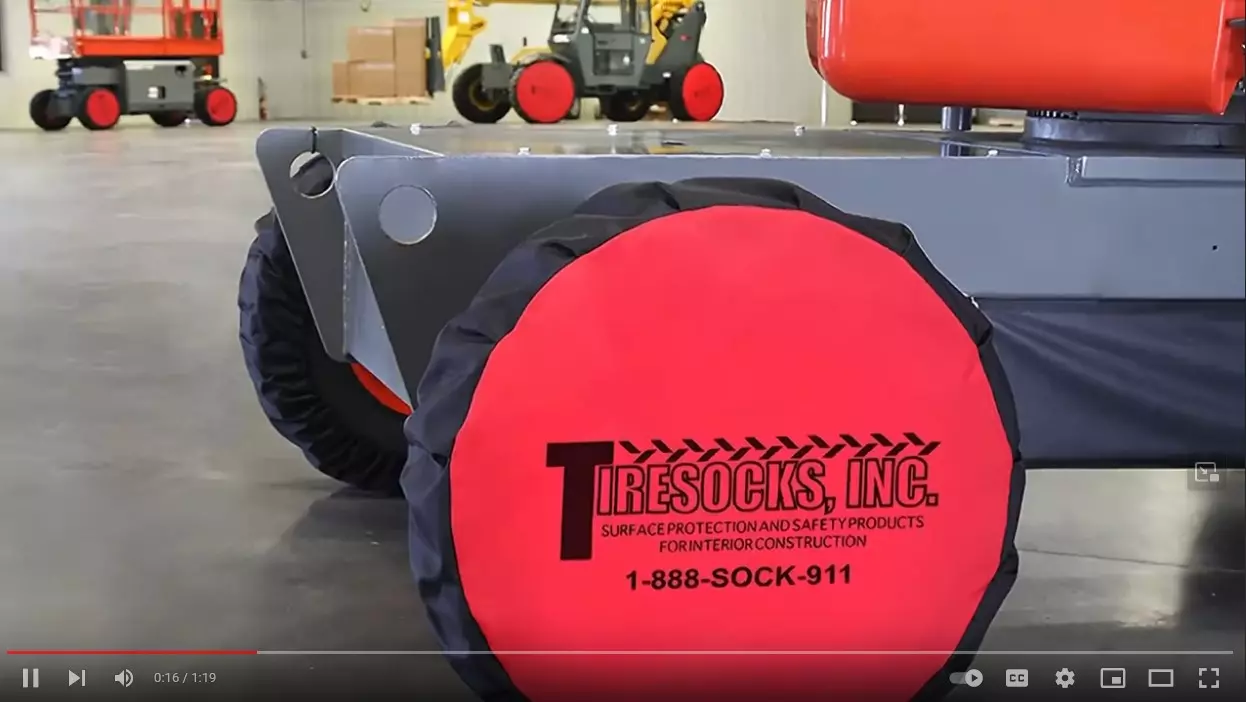
Made from high-quality, durable material, TireSocks® easily slip on over your wheels, providing the protection your floor and bottom line need. To get the most life out of your TireSocks, only use them on interior surfaces that are dry, level, and only turn the tires when the equipment is in motion.
TireSocks Installation Guide
As you begin to install your TireSocks®, make sure that no part of the red center is overlapping your tire’s tread and don’t drive on the seam. Proper fit and installation help your TireSocks to last longer.
1. Stretch the top half of the TireSock over each tire. The TireSocks should only stretch over the back side of the tire by 1-2 inches.
2. Turn the machine ON and drive forward just enough to rotate the tires 180 degrees.
3. Stretch the remaining half of each TireSock over the rest of the tire to complete installation.
When you’re ready to remove your TireSocks®, pull down the top section of each sock, drive forward as you did with installation, then slip off the rest.